Quick Answer: To add a video to Google Slides, open Insert → Video, then pick one of three sources: (1) YouTube — paste the URL or search; (2) Google Drive — upload the .mp4 to Drive first, then Insert → Video → "Google Drive" tab; (3) Computer upload (newest editor only) — Insert → Video → "Upload from computer." Click the added video → Format options to set Autoplay, mute, and start/end times. If playback fails, check that the Drive video is shared with "Anyone with the link" — that's the #1 cause of "video can't be played" errors.
Why Embed a Video Instead of Linking to It?
Linking to a video forces you to leave Google Slides during a presentation — open a new tab, wait for the video to load, navigate back. The flow breaks. An embedded video plays inside the slide itself, which keeps your audience focused and your timing under control.
Google Slides supports three video sources: YouTube, Google Drive, and (on the newest editor only) a direct upload from your computer. Each path has different trade-offs around offline playback, file size, and access permissions. This guide covers all three, plus how to set start/end times, autoplay, mute, and the most common reasons an embed fails.
Method 1: Add a YouTube Video to Google Slides
This is the fastest path and works with any public or unlisted YouTube video.
-
Open your presentation at slides.google.com and select the slide where the video should appear.
-
Click Insert in the menu bar, then click Video.
-
A "Insert video" dialog opens with three tabs at the top: Search, By URL, Google Drive. Use Search if you do not have a specific URL — type a query and Google returns YouTube results inside the dialog. Use By URL if you already have the YouTube link.
-
Paste the URL (something like
https://www.youtube.com/watch?v=...) into the By URL field. A preview thumbnail appears below the field once the URL is recognized. -
Click Insert. The video appears as a rectangle on your slide. Drag the corner handles to resize it; drag the body to reposition.
-
Click outside the video to deselect. Then click the video once to select it again — the format options panel opens on the right.
That's the basic embed. The video will play inside the slide when you click the play button during presentation mode. Read the next section to control timing.
Method 2: Add a Video from Google Drive
Use Drive when you want the video to be private (not on YouTube), or when you cannot upload to YouTube for compliance reasons (corporate, medical, education contexts).
-
Upload the video to Google Drive first. Open drive.google.com, drag your video file into the Drive window, and wait for upload to complete.
-
Set sharing permissions on the video. Right-click the video in Drive → Share. Anyone who will view your presentation must also have access to the video file. The simplest option: set the file to "Anyone with the link" with Viewer access. For private decks, share the video with the same people you shared the presentation with.
-
Back in Google Slides, click Insert → Video.
-
Click the Google Drive tab at the top of the dialog.
-
Find your video. The dialog shows recent Drive files, your Drive root, items shared with you, and a search box. Select the video file.
-
Click Insert. The Drive video embeds in the slide.
Why permissions matter: if a viewer of your presentation does not have access to the underlying video file in Drive, they will see a black box or a "You need permission" error during the slideshow. This is the single most common cause of "the video does not play for my audience." Always test by opening the presentation in an incognito window with a different account before going live.
Method 3: Add a Video from Your Computer
Google Slides historically only supported YouTube and Drive embeds. The current editor adds a direct upload path that runs the file through Drive automatically.
- Click Insert → Video.
- Look for an "Upload" option in the dialog. If present, click it.
- Select the video from your computer. It uploads to your Drive in a folder Slides creates automatically.
- It is inserted into the slide once upload completes.
If you do not see the Upload option, the workaround is to upload the video to Drive yourself (Method 2 above) — the result is identical.
Supported formats: MP4 is the safest. Google Drive accepts most common formats (MOV, AVI, WMV, FLV, MPEG, WebM), but Slides playback is most reliable with MP4 encoded with H.264 video and AAC audio.
File size: Drive's upload limit is 5 TB (subject to your Drive quota), but practical playback gets unreliable above 1–2 GB. For long videos, trim to the section you actually need to show.
How to Set Start and End Times
Most embedded videos do not need to play in full. You can set a clip's start and end times so it plays exactly the segment you want.
-
Click the embedded video to select it. A Format options panel appears on the right side of the editor (if it does not, click Format options in the toolbar).
-
Expand the Video playback section in the panel.
-
Enter Start at and End at timestamps in HH:MM:SS or MM:SS format. For example,
Start at 0:30andEnd at 1:45plays the clip from 30 seconds to 1 minute 45 seconds. -
The thumbnail updates to show the start frame.
This is especially useful for YouTube videos where only a 20-second clip is relevant — you do not need to ask viewers to skip ahead.
How to Autoplay a Video on Slide Click
By default, an embedded video shows a play button and waits for you to click during the presentation. To remove that extra click:
-
Click the embedded video to select it.
-
Open Format options → Video playback.
-
Change the "Play" dropdown:
- Play (on click): the default. Click the video during the slideshow to start playback.
- Play (automatically): the video starts as soon as the slide appears.
- Play (manual): uses the video's standard YouTube/Drive controls; press play yourself.
-
Optional: check "Mute audio" if you want the video to play silently (useful for ambient background clips).
Caveat for YouTube videos: Google Slides may show a brief YouTube player overlay (title, related videos thumbnail) before the autoplay starts. There is no way to fully strip the YouTube branding from an embedded video — that is a YouTube product limitation. If you need a fully clean playback, host the video on Drive instead.
How to Resize and Position the Video
Treat an embedded video like any other object:
- Resize: drag a corner handle to keep aspect ratio; drag a side handle to stretch (avoid stretching — black bars on the side look more professional).
- Reposition: drag the body of the video.
- Snap to alignment guides: as you drag near another object, pink alignment guides appear. Release to snap.
- Use Format options → Size & Rotation for exact pixel dimensions if precision matters (e.g., matching the same video size across multiple slides).
For full-screen video impact, set the video to 1280 × 720 and center it on a 16:9 slide. For a "talking head" thumbnail in the corner, 320 × 180 works well at the bottom-right of a slide with text.
Why My Video Will Not Play (Common Errors)
If the video shows a play button but does nothing, or shows a black/empty box, work through these causes:
"You need permission" message during presentation
The video file in Google Drive is not shared with the person viewing the slideshow. Fix: open the file in Drive → Share → set the access level so viewers can see it. For internal decks, share with each viewer individually; for public decks, use "Anyone with the link → Viewer."
Video plays in editor but not in presentation mode
This usually means the embedded URL is restricted. YouTube videos marked Private cannot be played by anyone except the owner. Fix: change the YouTube video status to Unlisted (anyone with the link can view) or Public.
Video shows an empty black rectangle
The video file may have been deleted from Drive, or the YouTube video may have been removed. Fix: click the video in editor view — if the preview is also blank, the source is gone. Replace it with a working URL.
Video plays but has no audio
Check if Mute audio is enabled in Format options → Video playback. If not, the original video file may have no audio track.
Video freezes or stutters during playback
This is almost always a network issue. Embedded videos stream from YouTube or Drive in real time — they are not downloaded into the slideshow file. Fix: present from a wired connection where possible. For high-stakes presentations on unreliable Wi-Fi, present a recording of the slideshow instead, or download the video and play it from a local media player as a backup.
"This video is unavailable" in Slides
The YouTube video has region restrictions, age restrictions, or was set to "embeddable: false" by the uploader. Fix: find a different video, or download a version you have rights to and upload it to Drive.
Tips for Embedding Videos Effectively
A video on a slide is a high-impact, high-risk choice — the audience pays attention, but if it fails, the failure is loud. These habits help:
Keep clips under 2 minutes
Audience attention drops sharply after 90 seconds of video. If you need to show a longer clip, break it into segments across multiple slides with your commentary in between.
Test on the actual presentation device
Before a live talk, run the slideshow on the laptop, projector, and network you will use the day-of. The "video plays on my Mac" assumption breaks more presentations than any other.
Plan for offline failure
Bring a downloaded copy of the video on your laptop. If the venue Wi-Fi is dead, you can switch to a local file player without re-engineering the deck.
Match the video aspect ratio to your slide
A 16:9 video on a 16:9 slide fills cleanly. A 4:3 video on a 16:9 slide leaves black bars on either side. If the bars matter visually, crop the video before uploading.
Trim before you embed, not after
If a 20-minute YouTube video has a 30-second segment you need, the start/end times in Format options work — but the full video still streams. For higher reliability, download → trim → upload to Drive as a 30-second clip.
Building Slides with Embedded Videos Faster
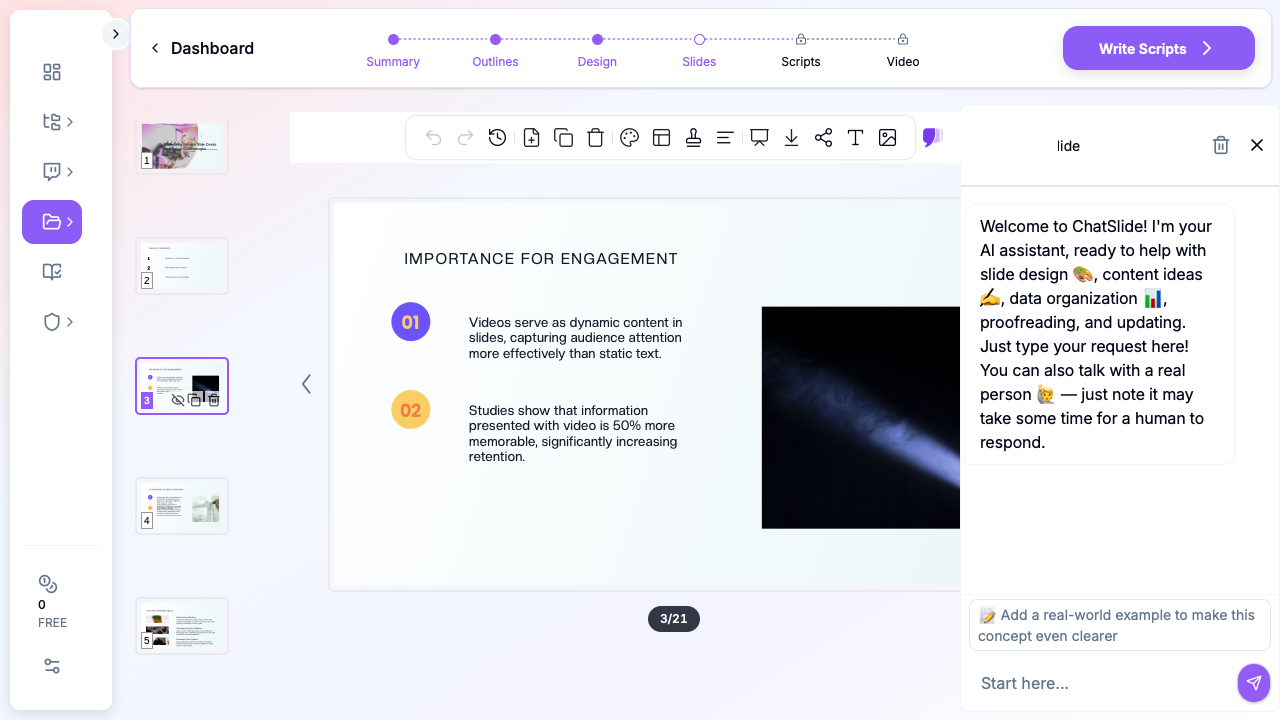
Building a deck slide-by-slide and finding the right video for each section takes hours. An alternative is to start from an AI-generated outline that already places video slots where they make sense.
ChatSlide generates complete decks from a topic, document, or upload, then suggests slides where embedded media (videos, charts, images) would strengthen the narrative. You can export the result to Google Slides via Download → Microsoft PowerPoint and re-upload, or copy slides individually. The structure carries over; you swap in your specific video URLs in Google Slides afterward.
This works best when you are building a tutorial, training deck, or pitch where the video is a supporting element rather than the centerpiece — the AI handles the surrounding context, headings, and transitions.
Frequently Asked Questions
How do I add a video to Google Slides?
Open your presentation, select the slide, and click Insert → Video. Choose a source in the dialog: Search or By URL for a YouTube video, or the Google Drive tab for a file you have uploaded to Drive (the newest editor also offers Upload from computer). Click Insert, then drag the corners to resize. To control playback, click the video and open Format options → Video playback to set autoplay, mute, or start and end times.
Can I embed a Vimeo video in Google Slides?
Not directly. Google Slides only supports YouTube and Google Drive as native video sources. To use a Vimeo video, either download the video file (if the owner allows) and upload it to Drive, or link to the Vimeo URL as a clickable image — but the video will open in a browser tab during your presentation, not play inline.
Can I embed a video on a Google Slides mobile app?
The mobile app shows embedded videos in the slide preview but cannot insert new ones. Add videos in the desktop editor, then present from mobile if needed. Playback during mobile presenter view works for most YouTube videos but is less reliable for Drive-hosted videos on slow connections.
Will the embedded video work when I download the slideshow as PowerPoint?
YouTube embeds usually carry over to .pptx as a YouTube embed object that PowerPoint can play if the device has internet access. Google Drive videos do not carry over — PowerPoint cannot play a Drive-hosted video without re-embedding the file. If you plan to deliver the deck in PowerPoint format, use YouTube embeds or upload the video file directly into PowerPoint after export.
Can the audience hear the audio if I am sharing my screen on Zoom or Google Meet?
Yes, but you need to enable computer audio sharing in your conferencing tool. In Zoom, click Share Screen → Advanced → "Share computer audio." In Google Meet, the option is in the share-tab dialog ("Also share tab audio"). If audio sharing is not enabled, your audience will see the video but hear silence.
How do I loop a video in Google Slides?
Google Slides does not have a native loop option. Workarounds: edit the video itself to repeat (using a video editor) before uploading, or use a YouTube playlist URL that auto-replays. For a true on-slide loop, the cleanest method is to encode the loop into the video file itself.
Can I add captions or subtitles to an embedded video?
Subtitles depend on the source. YouTube videos with closed captions show the CC button during slideshow playback — viewers turn captions on themselves. Google Drive videos do not have a native caption toggle in Slides. For accessibility-critical decks, hard-burn captions into the video file before upload, or embed a YouTube version that has CC enabled.
Is there a limit to how many videos I can embed in one presentation?
There is no documented hard limit. Practical limits come from file size (a presentation with 20 embedded Drive videos stays small because the videos stream rather than embed) and from playback performance during the slideshow. Decks with more than 5–6 video slides should be tested end-to-end before going live.
Why does the video have a YouTube logo even though I do not want one?
YouTube embeds always show some YouTube branding — the watermark, the play button style, and (after the video ends) related video thumbnails. There is no setting to remove these in Google Slides. To get a fully clean look, upload the video file to Drive and embed it from there; Drive playback shows neutral controls without YouTube branding.
Summary
To embed a video in Google Slides: open Insert → Video, then choose YouTube (Search or By URL), Google Drive, or upload from your computer. After insertion, click the video and open Format options → Video playback to set autoplay, mute, or precise start/end times. Resize by dragging corner handles and reposition by dragging the body.
The most common cause of "the video does not play" is permissions: a Drive video that the viewer does not have access to, or a YouTube video set to Private. Always test the deck in an incognito window before presenting.
For high-stakes presentations, keep individual clips under two minutes, test on the actual presentation device and network, and bring a downloaded backup of the video file in case the venue connection fails. A failed video is worse than no video at all — preparation is the difference between an embedded clip that lands and one that derails the talk.